


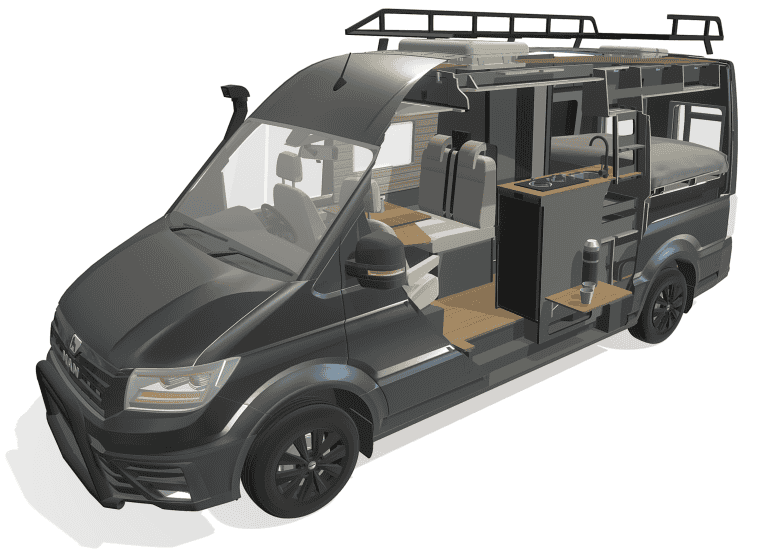


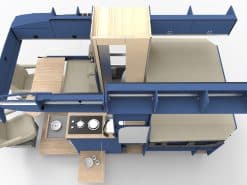
Space pod Pair – Ford transit L3 – Mk 8
£ 700.00 inc vat
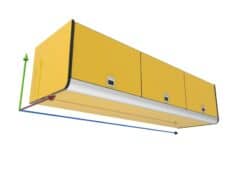
Evo space pods , side flares, sleeping pods for the L3 ford transit mk 8 van . Sold as a pair for driver and passenger side they will add around 180mm in total to the overall bed length. Making a 205cm bed once finished.
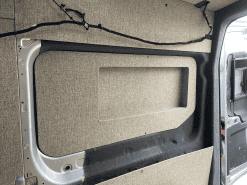
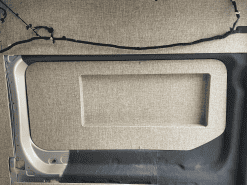
Finished in white, the fibre glass parts will need a light sand before painting to match your vehicle. No widow cut outs. Images show windows fitted by customers.
You will need to key both the fibre glass inner surface and the van body before bonding with a polyurethane adhesive, we recommend using Sikaflex 252 Structural Adhesive or similar.
These can be fitted to the LWB L4, but no factory middle glass window can be fitted on the L4. Please check dimensions in images.
Allow 1.5 tubes per side. Best to spray finish
Vinyl wrapping not recommended
Use a cellulose paint if going for a matt finish, Raptor paint is popular and easy/forgiving to apply. For a Gloss finish use a standard 2 pack car paint
Works with both left hand (EU) and right hand (UK) drive vans
Lead Time for this product: 2-3 daysAny lead time quoted is an estimate only
and should not be relied upon as a guarantee
IMPORTANT: PLEASE READ BEFORE PROCEEDING WITH FITTING
Space Pod Fitting Instructions
- Check Fit Before Permanent Changes:
- Ensure the Space Pod fits properly before gluing, painting, or sanding. Return the pod in its original box for a full refund if unsatisfied. No refunds will be given if the pod is glued, painted, or wrapped.
- Preparation:
- If painting, avoid low baking or heating the pod to prevent distortion.
- When wrapping, be cautious not to overheat the GRP to prevent hard bubbles forming later.
- Ideally, paint the pods after fitting.
- Surface Keying:
- Key the surface of the van with wet and dry and the Space Pod with 120 grit sandpaper.
- Sand down any high points on the Space Pod back surface.
- Do not use etching primer paint on the Space Pod; use only sandpaper for keying where adhesive will be in contact.
- Adhesive Application:
- Apply polyurethane adhesive to the van in a constant bead around the sides and top of the pod to prevent leaks.
- Cut a “V” shape in the nozzle for a higher adhesive bead.
- Use 1.5 tubes of Sikaflex 252 or similar adhesive per Space Pod.
- Bonding Process:
- Bond the pod in place; use masking tape and wedges to help hold the position.
- Place a ratchet strap or similiar around the van body and the Space Pod to apply light pressure.
- Use foam blocks under the straps in specific places to push the Space Pod if necessary.
- Adhesive Cleanup:
- Clean off any excess adhesive before it sets; tar and oil remover works well.
- Final Touch:
- Once bonded, apply a bead of adhesive along the front edge of the pod to finish.
| Weight | 20 kg |
|---|---|
| Dimensions | 90 × 170 × 18 cm |
| Country of Origin | UK |
| HS Code | 8708299000 |
Related products


DESIGN 1 -Sprinter Crafter
Space Pod Mercedes Sprinter 2006 to Present & VW Crafter 2006 – 2017

DESIGN 10 - Ford transit MK L3 H3


DESIGN 10 - Ford transit MK L3 H3
EU EXPORT-Space pod Pair – Ford transit L3 – Mk 8 ( Only for customers in the EU )

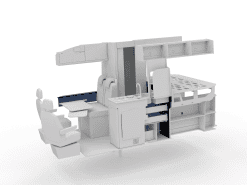
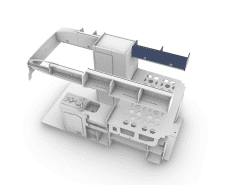
Bed Platforms

DESIGN 10 - Ford transit MK L3 H3

Crafter/Man TGE 2017+ Lockers

DESIGN 10 - Ford transit MK L3 H3
Locker F4 (Over Bed Drivers Side) – 1230mm | FORD Transit L3 H3
DESIGN 10 - Ford transit MK L3 H3
DESIGN 10 - Ford transit MK L3 H3
DESIGN 10 - Ford transit MK L3 H3


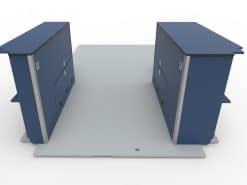
Crafter/Man TGE 2017+ Space Pods / Side flares
DESIGN 10 - Ford transit MK L3 H3